 Blaine Siding
 Building New in Point Roberts Means Building for a Specific Kind of Weather
Point Roberts sits on its own peninsula at the southern tip of the Tsawwassen headland, cut off from the rest of Whatcom County by water and reachable only by crossing into and out of Canada. That geography isn't just a curiosity — it puts every home here in direct line of marine wind off the Strait of Georgia, with salt-laden air, driving rain off the water, and a long, damp moss season that runs most of the fall through spring. If you're building new, the windows going into that shell are one of the few components that have to perform correctly the first time. There's no easy do-over once siding, trim, and interior finish are closed up around a bad install.
New-construction windows are installed differently than replacement units, and getting that installation right matters more here than it does in drier, inland parts of the county. This page is about that one job — new-construction window installation for Point Roberts homes — done by a crew that already knows the site conditions before we show up.
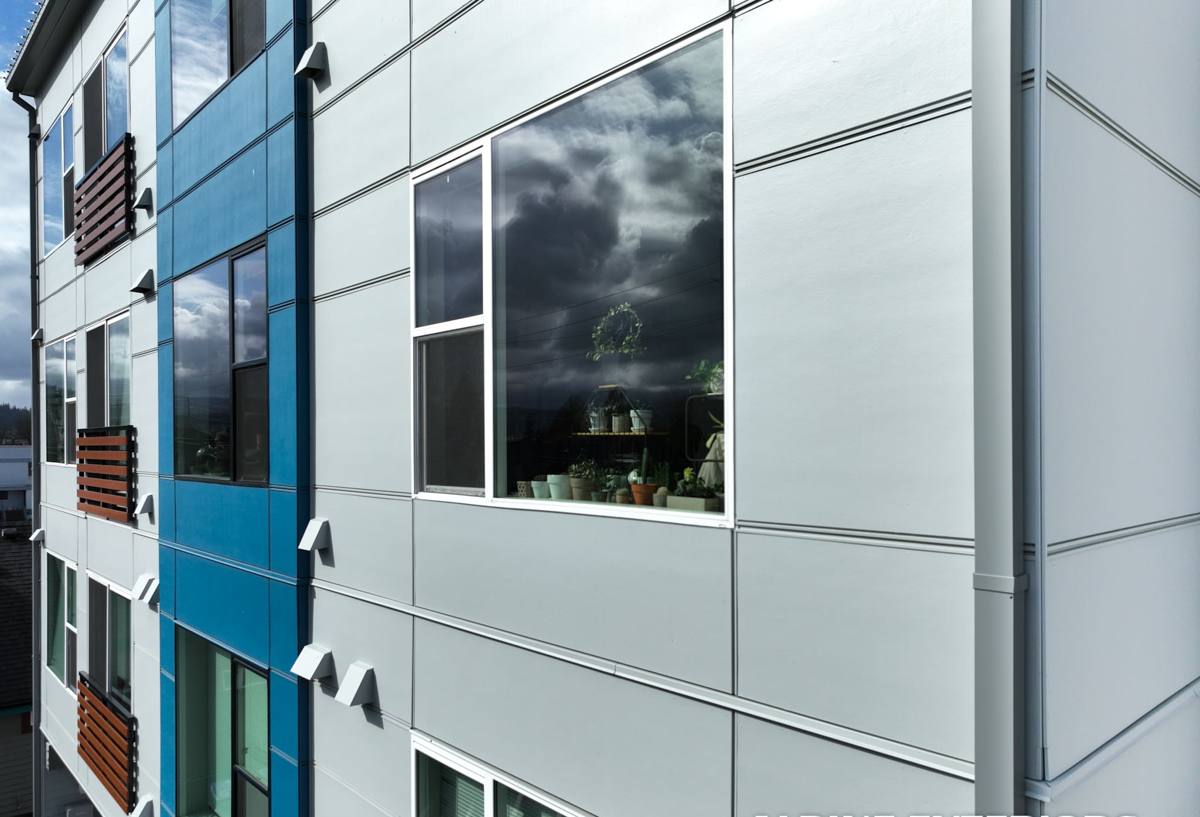
What Salt Air, Rain, and Moss Actually Do to Windows Over Time
None of these three factors is dramatic on its own. Together, over years, they're what separates a window install that lasts two decades from one that starts failing at year seven.
Salt Air
Airborne salt accelerates corrosion on exposed fasteners, hinges, and lesser-grade hardware, and it degrades some finishes faster than manufacturers' standard warranties assume for inland installs. It also speeds up the breakdown of cheap sealants and gaskets, which is where most of the water intrusion problems we see actually start.
Driving Rain
Wind-driven rain off the water doesn't just fall on a window — it gets pushed sideways and upward under sills and around trim. A window that would be fine in a calm rain gets tested hard here, which is why flashing detail and drainage planes matter more in Point Roberts than they would on a sheltered inland lot.
Moss and Sustained Moisture
The long wet season means more days where wood trim, sills, and any exposed fasteners stay damp longer than they would elsewhere. Moss and algae growth on north-facing and shaded elevations trap moisture against surfaces, which is hard on anything not properly primed, capped, or flashed from the start.
New-Construction vs. Replacement Windows: Why the Distinction Matters
These are two different products and two different install methods, and mixing them up is one of the more common — and expensive — mistakes on a new build.
| Factor | New-Construction Window | Replacement (Pocket) Window |
|---|---|---|
| Nailing fin | Yes — fastens directly to the framed rough opening | No — fits inside the existing frame |
| Best used for | New builds, additions, full wall openings | Swapping units in an existing, finished wall |
| Flashing integration | Ties directly into the WRB and sheathing during framing | Relies on the existing wall's flashing being sound |
| Water management | Built from the studs out — most reliable long-term option | Limited by what's already behind the existing trim |
| Correct timing | Installed before siding and exterior trim go on | Installed anytime after original construction |
For a new build, the nailing-fin window is the correct product almost every time. Using a replacement-style window in new construction — or installing a new-construction window without proper fin integration into the water-resistive barrier — is a shortcut that shows up later as staining, soft trim, or interior moisture, usually well after the builder has moved on.
What a Correct New-Construction Window Install Actually Involves
The window unit itself is only part of the job. What happens around it in the rough opening is what determines whether it stays watertight for the life of the house.
- Rough opening check — confirming the opening is square, plumb, and sized to the manufacturer's tolerance before the window ever goes in.
- Sill pan flashing — a sloped, sealed pan under the sill so any water that does get past the window sheds outward, not into the wall cavity.
- Water-resistive barrier integration — the housewrap or building paper is lapped and taped in the correct shingle-style order around the nailing fin, so water is always directed down and out, never trapped behind the flange.
- Fastening the nailing fin — fastened per the manufacturer's schedule, not just "enough nails to hold it," since under-fastening is a common cause of fin separation in high-wind exposure.
- Air sealing and insulation at the jambs — a proper low-expansion foam or backer rod and sealant at the interior gap, not packed fiberglass alone, to control both drafts and condensation risk.
- Exterior trim and caulking — final seal at the trim-to-window joint, using a sealant rated for the salt and UV exposure this coastline sees.
Any one of these steps done wrong can still let a window "look" fine on the day it's installed. The failures we get called about are almost always traced back to the flashing sequence or fastening — not the window brand.
Material and Glass Choices That Hold Up on This Site
There's no single "best" window for every new build, but coastal Whatcom County exposure narrows the field. We talk through these trade-offs honestly rather than pushing whatever has the best margin.
| Frame Material | How It Holds Up Here | Maintenance |
|---|---|---|
| Vinyl | Won't corrode in salt air; solid mid-range performer | Low — occasional cleaning |
| Fiberglass | Very stable in temperature swings and coastal humidity; strong long-term option | Low |
| Wood-clad | Good look, but the wood interior needs the cladding and seals to stay intact to avoid moisture problems | Moderate — watch cladding seams |
| Bare aluminum | Prone to corrosion and condensation in this climate without a quality thermal break and finish | Higher — not our default recommendation here |
On glazing, we typically spec dual-pane, low-E glass with argon fill for new builds in this area — it manages the temperature swing between damp, cool mornings and afternoon sun without the added cost of triple-pane, which is rarely justified by this specific climate. Where a home has heavy west or south water exposure, we'll also talk through upgraded weatherstripping and sill designs built for higher wind-driven-rain loads.
Our Process, Start to Finish
For new construction, timing and coordination with the rest of the build matter as much as the window itself.
1. Plan Review and Site Visit
We look at the framing plan and rough openings early — ideally before framing is finalized — so window sizes, swing directions, and egress requirements are locked in before drywall or siding decisions box anyone in.
2. Product Selection
We walk through frame material, glass package, and hardware options against your budget and the specific exposure of each elevation of the house, since a north wall and a water-facing wall don't always need the same spec.
3. Coordinated Install Timing
Windows go in after the WRB is on and before siding starts, so flashing can be properly integrated in the correct order rather than patched around already-installed trim.
4. Flashing and Fastening to Spec
Every unit is flashed, fastened, and sealed to the manufacturer's installation instructions — which is also what keeps the manufacturer's warranty intact if a claim is ever needed down the road.
5. Final Walkthrough
We check operation, seals, and trim on every opening before we call the job done, not just a sample of them.
Why a Crew That Already Works Point Roberts Matters
Point Roberts isn't a typical job site logistically. Materials, crews, and equipment all have to cross the border to get there, which means scheduling has to account for that in a way a contractor unfamiliar with the area often doesn't plan for. A crew that regularly works this community already has that routine worked out — border timing, material staging, and realistic scheduling — instead of learning it on your project's timeline.
Beyond logistics, there's the exposure itself. A contractor who mostly installs windows in sheltered, inland Whatcom County settings isn't necessarily thinking about sill pan slope, fastening schedules for wind-driven rain, or salt-air-rated sealants by default. Those details come from having actually built and repaired windows in this specific exposure, not from a general installation manual.
Checklist Before You Start a New-Construction Window Job Here
- Rough openings confirmed against final window schedule before framing is closed up
- Sill pan flashing specified for every opening, not just water-facing elevations
- WRB and window flashing sequence agreed on with your general contractor ahead of time
- Frame material chosen with this coastline's salt exposure in mind, not just price
- Glass package matched to each elevation's actual sun and weather exposure
- Fastening schedule and sealant products confirmed as manufacturer-approved, to keep the warranty valid
- Final walkthrough scheduled on every single opening, not a sample
Get a Free, No-Pressure Estimate
If you're framing a new home or addition in Point Roberts, it's worth getting your window scope reviewed before siding decisions lock in the details. We'll walk the plans, talk through material and glass options for your specific site exposure, and give you a straightforward estimate — no pressure, no upsell. Use the form below to get started.