 Blaine Siding
 Birch Point Sits Right Where Salt Air Meets Siding
Birch Point is one of the more exposed residential pockets in Blaine. Homes here sit close to open water, which means siding takes a harder hit than it would a few miles inland in Whatcom County. Salt-laden air drifts onto exterior walls almost daily, wind-driven rain finds every unsealed seam during winter storms, and the tree cover that gives many Birch Point lots their privacy also keeps north- and west-facing walls damp and shaded for long stretches of the year. That combination — salt, rain, and shade — is exactly the profile that wears out the wrong siding material fastest.
We install siding across Blaine and the rest of Whatcom County, but Birch Point gets treated as its own case. The detailing that works fine on a dry, sun-exposed lot a few streets back from the water isn't the same detailing we use on a shoreline-facing wall here. This page walks through what that means in practice.
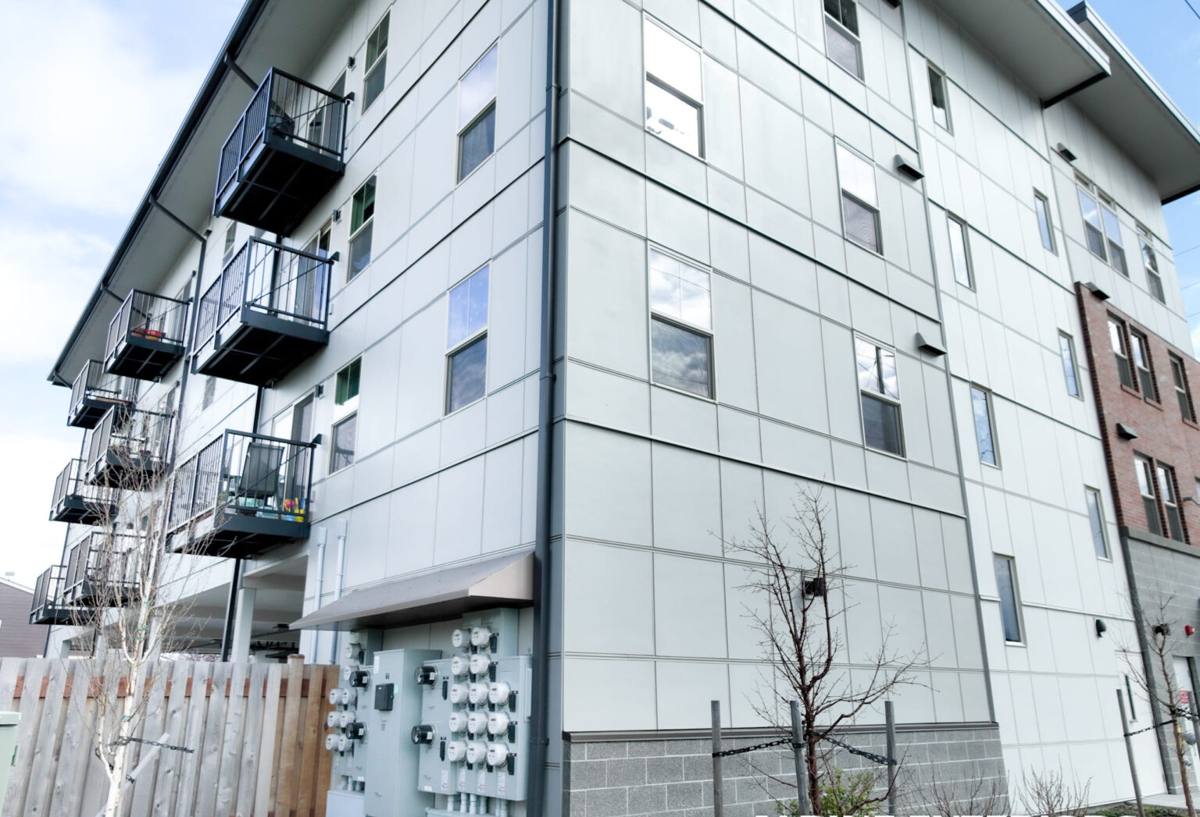
What Salt Air, Driving Rain, and Moss Actually Do to a Wall
Salt Air
Airborne salt is corrosive to metal and abrasive to soft or absorbent siding surfaces. Fasteners, flashing, and trim accessories that aren't rated for coastal exposure corrode faster here than they would inland, and that corrosion often shows up as staining or failure at the fastener line long before the siding field itself looks bad. Paint films exposed to salt air also break down faster than the manufacturer's stated repaint interval assumes, which is one reason a factory-cured finish matters more in Birch Point than in a lot of other neighborhoods we serve.
Driving Rain
Storms coming off the water don't fall straight down — they come in sideways, and sideways rain finds horizontal laps, butt joints, and penetrations that vertical rain never tests. A wall that's watertight in a light drizzle can still leak during a wind-driven event if the flashing details and joint treatment weren't built for that load. This is a workmanship issue as much as a material issue: the same siding installed two different ways can perform completely differently in a driving-rain event.
Moss and Sustained Dampness
Shaded, tree-lined lots hold moisture longer after a storm passes. On siding materials that aren't dimensionally stable or that absorb water into their core, that extended dampness accelerates swelling, softening, and eventually rot at the bottom edges, around trim, and behind anything that traps debris. Moss itself isn't usually what damages the siding — it's a marker that a surface is staying wet longer than it should, which is the real problem.
Why We Only Install James Hardie Fiber Cement Here
We don't install vinyl, LP SmartSide, cedar, primed spruce, or fiber cement brands other than James Hardie — anywhere, not just in Birch Point. But this neighborhood is a good illustration of why that standard exists. Fiber cement is non-combustible and doesn't rely on a resin-saturated wood substrate the way engineered wood siding does, so it isn't vulnerable to the moisture-driven core swelling that shows up on shaded, damp walls. It also doesn't soften, warp, or become brittle under repeated wet-dry cycling the way vinyl can under UV and temperature swings, and it holds a factory-applied finish far more consistently than field-painted wood trim.
James Hardie backs its siding with a baked-on ColorPlus finish that's engineered to resist fading and hold up in harsher exposure than standard field paint, and their HZ5 product line is formulated specifically for wetter, more variable climates like the Pacific Northwest coast. That's the version we spec for a Birch Point job by default — not because it's an upsell, but because it's the version built for this exposure.
Material Comparison for a Waterfront Blaine Lot
| Material | Salt air behavior | Moisture/rot resistance | Finish durability |
|---|---|---|---|
| James Hardie fiber cement (HZ5) | Does not corrode; stable in coastal exposure | Cement-based core resists rot and swelling | Factory ColorPlus finish, long repaint interval |
| Vinyl siding | Can become brittle with UV/salt exposure over time | Won't rot, but seams and J-channels can trap moisture | Color molded in, but fades and chalks; not repaintable easily |
| Engineered wood (e.g. LP SmartSide) | No corrosion issue, but finish demands upkeep in salt air | Resin-treated core, but edge/cut exposure is a known failure point | Field or factory finish; edges need diligent caulking and repainting |
| Cedar / primed spruce | No corrosion, but finish breaks down faster near water | Natural wood; vulnerable to rot without consistent maintenance | Requires regular refinishing, more often near salt air |
What a Correct Installation Involves on a Site Like This
The siding panel is only part of the job. On an exposed Birch Point wall, the installation details below are the ones we treat as non-negotiable, not optional upgrades:
- Correct weather-resistive barrier and rainscreen or drainage gap behind the siding, so any moisture that does get past the cladding has somewhere to drain and dry out
- Stainless or coated fasteners appropriate for coastal exposure, driven to the manufacturer's specified depth and pattern — not just "close enough"
- Properly lapped and sealed flashing at every window, door, and roof-to-wall transition, since these are the spots wind-driven rain actually gets in
- Manufacturer-specified clearances between the siding's bottom edge and the ground, decks, and roof lines, so splash-back and standing moisture don't sit against the material
- Factory-cut and factory-primed panel edges wherever possible, with field cuts properly sealed per Hardie's installation instructions
- Caulking only where Hardie's install guide calls for it — over-caulking a joint that's supposed to allow drainage can trap water instead of shedding it
Skipping any one of these doesn't usually cause an immediate, visible problem. It shows up two, five, or ten years later as a soft spot, a stain, or a callback — which is exactly the kind of failure that's expensive to trace back to a shortcut taken during install.
Our Process for a Birch Point Job
We run the same basic sequence on every job, but the inspection and prep steps get extra attention on shoreline-facing lots:
- Site walk and exposure assessment — we look at which walls take direct weather off the water, where shade and tree cover keep surfaces damp longest, and what the existing siding and sheathing condition tell us about past moisture intrusion.
- Tear-off and substrate check — old siding comes off and we inspect the sheathing underneath for soft spots or rot before anything new goes up. This step catches problems a re-side-over-existing approach would just bury.
- Weather barrier and drainage plane installation — this is the layer that does the real waterproofing work; the siding is the first line of defense, not the only one.
- James Hardie panel installation — installed to manufacturer spec for fastening, clearances, and joint treatment, with HZ5 product specified for direct water exposure.
- Flashing and trim detailing — windows, doors, and roof transitions get sealed and lapped correctly before the job is called finished.
- Final walk-through — we go over what was done and what maintenance, if any, the homeowner should expect going forward.
What Cost Depends On
Every Birch Point home is different, so we won't quote a number without seeing the site, but the factors that move the price are consistent:
| Factor | Why it matters here |
|---|---|
| Substrate condition | Rot or moisture damage found during tear-off adds repair scope before new siding goes up |
| Wall exposure | Direct waterfront-facing walls may warrant upgraded flashing or drainage detailing |
| Trim and architectural detail | Corners, window surrounds, and roofline transitions all add labor time |
| Access | Steep or wooded lots common near the water can slow staging and material handling |
| Product line and profile | HZ5 boards, plank width, and color selection affect material cost |
Maintenance Once It's Installed
James Hardie siding installed correctly asks for very little upkeep, but Birch Point's conditions mean a short annual check is worth the time:
- Rinse salt residue off exterior walls once or twice a year, especially on water-facing sides
- Keep gutters clear so overflow doesn't run down and pool against the siding's bottom edge
- Trim back vegetation that's shading a wall and keeping it damp longer than the rest of the house
- Walk the exterior after major windstorms and check trim, flashing, and caulk lines for anything that looks disturbed
- Address any soft spot, stain, or gap early — on fiber cement, small issues stay small if they're caught before another wet season
Why Local Experience on This Exposure Matters
A crew that mostly installs on dry, inland, sun-exposed lots can do a technically fine job and still under-detail a wall that faces open water. Knowing which walls in Birch Point take the worst of the wind-driven rain, how much drainage capacity a shaded, moss-prone section actually needs, and which flashing details matter most in a Whatcom County winter storm isn't something you learn from a spec sheet — it comes from having installed and then followed up on siding in this exact kind of exposure. That's the standard we hold every Birch Point job to, and it's the reason our installation details on a waterfront lot here are never treated as a copy-paste of a job three miles inland.
If you're planning a siding project on a Birch Point property, we're glad to take a look and put together a free, no-pressure estimate — no obligation, just an honest read on what your home needs.