 Blaine Siding
 New-Construction Windows for Bellingham Builds
New-construction windows are a different job than replacement windows, even though homeowners often lump them together. On a replacement, we're working with an existing wall and trying to seal a new window into an old opening. On new construction, we're setting the window during framing, before siding or interior finish goes on, which means we control the flashing, the water-resistive barrier (WRB) integration, and the rough opening tolerances from the start. Done right, that's the best possible position to build long-term water management into a Bellingham home. Done wrong, it's the hardest mistake to find later, because it gets buried under siding and trim.
Our crew is based in Blaine and works Whatcom County regularly, including Bellingham additions, custom builds, and larger remodels that involve new rough openings. We're not a traveling install crew that shows up once and leaves. We know what this stretch of Washington coastline does to a building envelope over ten and twenty years, and we frame our new-construction window work around that.
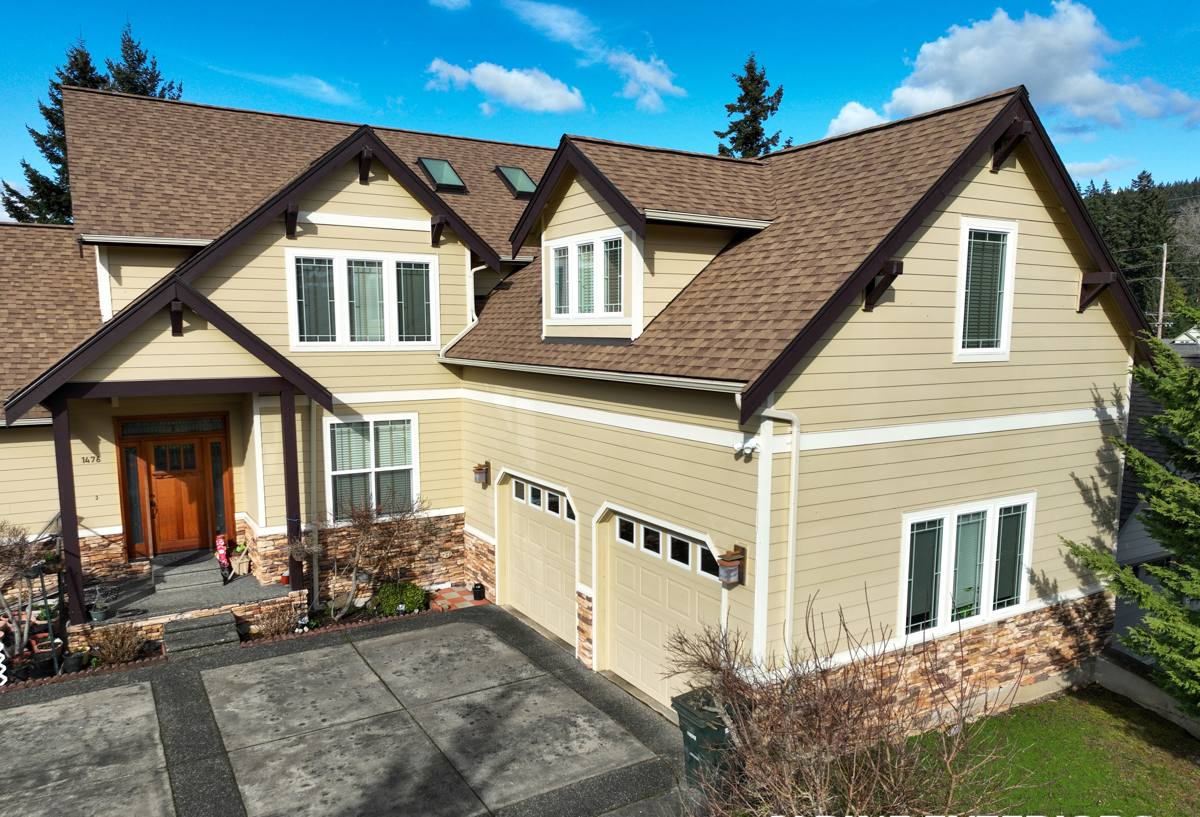
Why Bellingham's Climate Changes the Job
Bellingham sits close enough to the water that salt-laden air is a real factor in material selection and hardware choice, not just a talking point. Combine that with the long, wet stretch of fall through spring typical of Whatcom County, and you get two separate stresses on a window opening: corrosion pressure on metal components, and sustained moisture pressure on the wall assembly itself.
A few specifics that shape how we detail new-construction openings here:
- Driving rain, not just rainfall totals. Wind-driven rain off the water pushes moisture sideways and upward at sills and heads, which is where a lot of generic installs fail first.
- Extended damp season. Wall assemblies here don't get long dry stretches to shed incidental moisture the way drier climates do, so the flashing and WRB details have to be right the first time — there's less margin for "it'll dry out."
- Moss and organic growth. Moss holds moisture against surfaces longer than plain rain does. On sills, trim, and anywhere water can sit or splash back, that matters for material choice and detailing, not just cosmetics.
- Salt air corrosion. Fasteners, flashing metal, and window hardware near the coast benefit from corrosion-resistant specs even a few miles inland, because salt air travels with prevailing wind.
None of this means new-construction windows in Bellingham require exotic products. It means the installation sequence — flashing order, sealant placement, drainage path — has to be followed correctly every time, because this climate finds the one spot that was rushed.
What a Correct New-Construction Window Install Involves
Rough Opening and Flashing Sequence
The rough opening has to be framed square, plumb, and to the window manufacturer's specified tolerance — too tight and the window can bind or the frame can bow under fastening; too loose and you're relying on shims and sealant to do work they shouldn't have to do. From there, the order matters:
- Sill pan flashing installed first, sloped to drain outward, so any water that gets past the window has a way out instead of a place to collect.
- WRB (house wrap or equivalent) integrated with the sill pan using a shingle-lap sequence — each layer overlapping the one below it, like roof shingles, so water is always directed down and out.
- Window set into the opening, checked for level, plumb, and square before a single fastener goes in permanently.
- Nailing fin fastened per the manufacturer's schedule — skipping fasteners or over-driving them are both common shortcuts that cause problems years later.
- Jamb and head flashing lapped over the nailing fin, then the WRB lapped over the head flashing last, completing the shingle-lap so water sheds down and over every layer below it.
- Sealant used only where the manufacturer specifies it — sealing the wrong spot can trap water inside the assembly instead of keeping it out.
Why the Sequence Order Is Non-Negotiable
Every layer in that sequence has to shed water onto the layer below it, all the way down to the sill pan and out. If even one layer gets installed out of order — head flashing under the WRB instead of over it, for example — you've built a shelf that catches water instead of a path that drains it. This is the single most common defect we find on new-construction openings that were rushed or installed by a crew unfamiliar with local wet-climate detailing. It doesn't show up as a leak on day one. It shows up as rot in the framing three to seven years later.
Product Selection for This Climate
We don't push one brand as the only option — window manufacturer choice depends on budget, style, and what the rest of the build calls for. What we do hold firm on is performance category and hardware spec for a coastal Whatcom County build:
| Factor | Why It Matters Here |
|---|---|
| Frame material | Vinyl and fiberglass resist moisture and corrosion well; wood-clad frames need consistent maintenance to hold up against extended damp seasons |
| Hardware finish | Corrosion-resistant hardware (stainless or coated) holds up better against salt air than standard-grade hardware |
| Glazing package | Dual or triple-pane with a warm-edge spacer helps with condensation control during Bellingham's cool, damp months |
| Weep system | Clear, unblocked weep paths are essential — driving rain means these openings need to drain, not just resist |
| NFRC ratings | Look at U-factor and air infiltration rating together, not just U-factor alone; infiltration matters more in a wind-driven-rain climate |
We'll walk through specific product lines and price tiers once we know the scope of your build — that's part of the estimate, not something we guess at over the phone.
Our Process on a Bellingham New-Construction Job
Before We Touch the Opening
We review the framing plans or walk the framed openings in person, confirm rough opening sizes against the window schedule, and flag any header or sill discrepancies before ordering. Catching a sizing mismatch before the windows arrive saves everyone time and money compared to catching it after.
During Installation
We follow the flashing sequence above on every opening, no exceptions for the ones that are hard to reach or behind scaffolding. We check level, plumb, and square on each window individually — a shim pattern that worked on one opening doesn't automatically work on the next, even in the same wall.
After Installation
We do a final walk of every opening, checking operation, sealant lines, and flashing laps before we consider the job done. If the build schedule means siding goes on weeks or months after our window install, we make sure the WRB details are properly protected and lapped so nothing gets compromised while it's exposed to Whatcom County weather in the meantime.
Common Mistakes We See on New-Construction Openings
Most of the water problems we get called out to diagnose later trace back to a handful of repeat issues:
- Head flashing installed under the WRB instead of over it, reversing the drainage path
- Sill pan missing or not sloped to drain, so incidental water pools instead of exiting
- Sealant used as the primary water barrier instead of the flashing sequence — sealant fails over time; flashing done correctly doesn't rely on it
- Nailing fin fastener schedule skipped or shortcut to save time
- Rough openings framed out of square, forcing the window frame to rack once fastened
- Weep holes taped over or blocked by trim work done after the window install
Every one of these is avoidable with a crew that treats the flashing sequence as fixed, not optional. That's the standard we hold on every opening, whether it's a single window in an addition or a full new build.
Working With a Blaine-Based Crew on a Bellingham Build
Hiring locally for this kind of work isn't just about proximity, though showing up on schedule for a multi-phase build matters. It's about a crew that already knows how Whatcom County's driving rain, moss season, and coastal air behave against a building envelope over years, not just during the install. We're not learning this climate on your project. We coordinate directly with builders and framers on scheduling so window installation happens at the right point in the build sequence — not too early, when the opening isn't ready, and not so late that the WRB has been exposed longer than it should be.
We also stand behind our installation work separately from the manufacturer's product warranty, so you're covered on both the materials and the labor that put them in.
Get a Free Estimate
If you're framing a new build or addition in Bellingham and need window installation done right the first time, we're happy to take a look at your plans or framed openings and put together a straightforward estimate. No pressure, no upsell — just a clear look at what your project needs. Use the form below to get started.