 Blaine Siding
 Building New in Cherry Point Means Building for the Water
Cherry Point sits right up against the marine waters north of Blaine, in a stretch of Whatcom County where wind comes off open water with nothing to slow it down. If you're framing a new home or a major addition out here, the windows you choose and how they're installed will do more work than almost any other component in the building envelope. Get that step wrong and you're chasing leaks, corroded hardware, and fogged glass within a few years. Get it right and the windows should outlast most other finishes on the house.
This page is about one job: installing new-construction windows correctly in a new build at Cherry Point, done by a crew that has already worked this stretch of shoreline and knows what it demands.
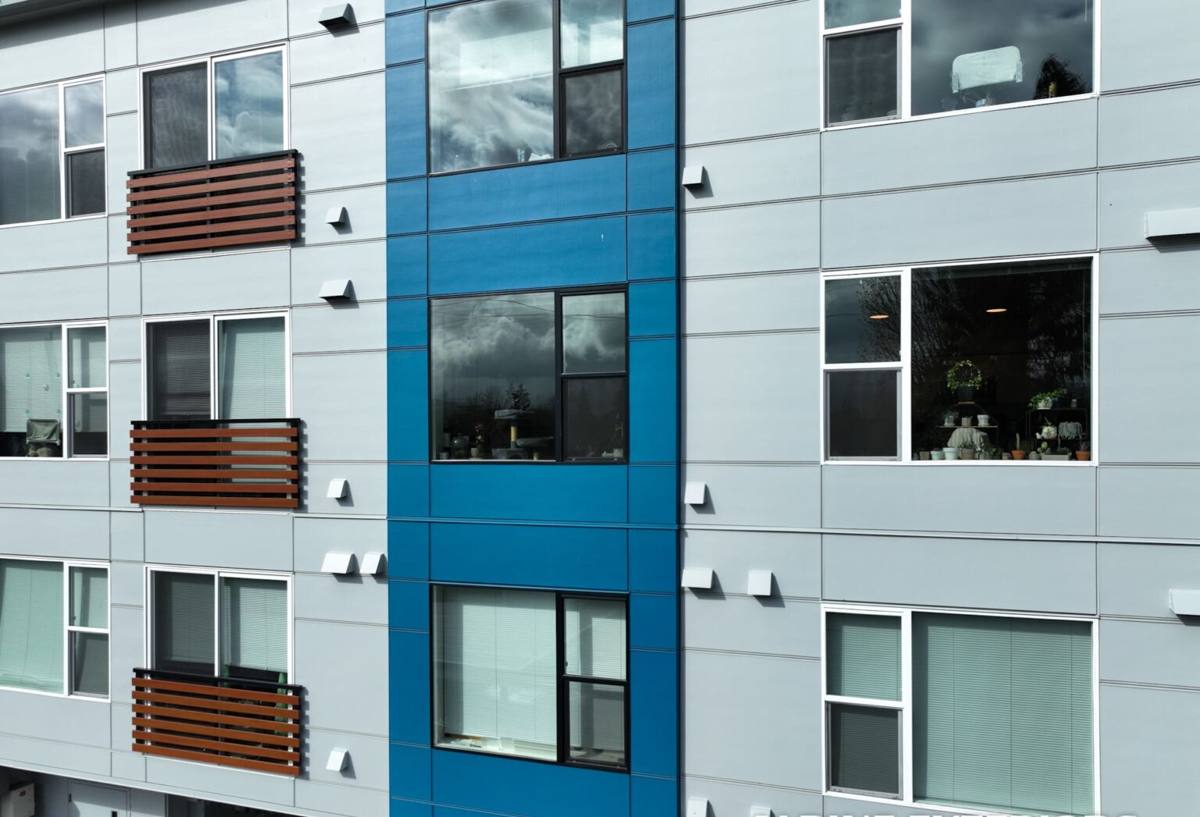
New-Construction Windows Aren't the Same Product as Replacement Windows
These two window types get lumped together, but they're built and installed differently, and using the wrong one — or installing the right one the wrong way — is one of the most common mistakes we see on new builds.
New-Construction (Nail Fin) Windows
These windows have a flange around the perimeter of the frame that gets nailed or screwed directly to the wall sheathing before the weather-resistant barrier and siding go on. They're the correct choice when you're building from framing up, because the flange lets the flashing and house wrap integrate into a single, continuous drainage plane. That continuity is what actually keeps wind-driven rain out — not the caulk bead people assume is doing the work.
Replacement (Insert) Windows
Insert windows are designed to fit into an existing frame without disturbing the siding around them. They're the right tool for a remodel, but they rely on different sealing methods and don't integrate with the wall's water management system the same way. Using an insert window on new construction, or a new-construction window on a retrofit, creates weak points that show up later as leaks — usually at the corners, where water finds the path of least resistance.
For a new build at Cherry Point, that distinction matters more than it would somewhere sheltered. Every seam in the water management system is a spot where wind-driven rain can get pushed uphill and in, and this area gets more of that than most of the county.
What Cherry Point's Climate Actually Demands
Salt Air and Hardware Corrosion
Homes close to the water take on airborne salt that settles on and around window hardware — hinges, locks, cranks, and especially fasteners. Standard zinc-plated screws and staples corrode faster here than they would a few miles inland. We fasten and flash with corrosion-resistant materials specifically because of this exposure, not because it's a generic upsell.
Wind-Driven Rain
Rain that falls straight down is easy to shed. Rain that's being pushed sideways by wind off the strait is a different problem — it gets forced up under laps and into gaps that would never leak in calm weather. This is why flashing sequence (which layer goes over which) matters as much as the window product itself.
Moss, Algae, and Prolonged Dampness
Whatcom County's long wet season means anything that stays damp — north-facing trim, sills, the tops of window openings under minimal roof overhang — grows moss and algae if it isn't detailed to drain and dry. A window opening that traps moisture against wood trim or sheathing is setting up a rot problem that won't show itself until it's expensive.
Glare and UV Off Open Water
Homes with a water-facing orientation get more reflected glare and UV exposure than the same elevation would inland. Glass selection (below) has a real effect on comfort and on how much the sun fades interior flooring and furnishings.
Choosing Frame Material and Glass for a Coastal New Build
There's no single "best" window for every Cherry Point property — the right call depends on orientation, budget, and how exposed the site is. Here's how the common options actually compare for this environment.
| Frame Material | Salt Air / Corrosion Behavior | Maintenance | Typical Fit |
|---|---|---|---|
| Vinyl | Won't corrode; good baseline performer | Low — occasional cleaning | Cost-conscious builds, most elevations |
| Fiberglass | Very stable, resists warping and corrosion, holds paint well | Low | Water-facing or high-exposure elevations |
| Wood-clad | Cladding protects exterior face; interior wood needs care if moisture reaches it | Moderate — watch seals and finish | Interior-wood-look priorities, sheltered elevations |
| Aluminum | Prone to corrosion near salt air unless marine-grade and properly finished | Higher near the water | Limited use here; we're selective about where we recommend it |
On glass, most Cherry Point builds do well with a low-E dual-pane unit with argon fill; homes with direct water exposure on the west or north face often benefit from a low-E coating tuned to cut glare and heat gain without darkening the view. We'll walk through U-factor and solar heat gain coefficient (SHGC) numbers for your specific elevations rather than push a one-size package.
The Flashing Sequence: Where Most Leaks Actually Start
Window failures almost never come from a bad window. They come from a flashing detail done out of order or skipped. The sequence has to work like shingles on a roof — each layer overlapping the one below it, so water is always directed outward and down, never trapped behind a layer above.
- Rough opening inspected for square, level, and correct sizing before anything is installed
- Sill pan flashing installed to catch and drain any water that gets past the window
- Weather-resistant barrier cut and prepped so side and head flashing will lap correctly
- Window set, shimmed plumb and square, and fastened through the nailing flange per the manufacturer's schedule
- Side flashing tape applied over the flange
- Head flashing installed last, lapping over the WRB and side flashing so water sheds outward
- Backer rod and sealant at the interior and exterior perimeter, sized and placed correctly — not just a bead of caulk smeared over the gap
Skip step order here — say, taping the head flashing before the side flashing — and you've built a shelf that catches water instead of shedding it. It's invisible from the outside and the siding crew won't catch it. It only shows up as a stain on drywall a year or two later.
Our New-Construction Window Process
1. Plan Around Your Framing and Siding Timeline
New-construction window installs happen at a specific point in the build — after sheathing and WRB, before siding closes everything in. We coordinate directly with your builder or general contractor so we're on site at the right moment, not holding up the schedule or getting installed before the wall is properly prepped.
2. Verify Rough Openings
Before a single window is set, we confirm every opening is sized, squared, and flashed to spec. Catching a framing issue here costs an hour. Catching it after siding is on costs a lot more.
3. Install and Flash in Sequence
We follow the shingle-lap sequence above on every opening, using flashing tapes and sealants rated for the exposure level of that elevation — water-facing walls get more attention than sheltered ones.
4. Fasten and Finish With Corrosion in Mind
Stainless or coated fasteners where salt exposure warrants it, hardware finishes chosen for the site, and sealant products rated for UV and marine air exposure rather than generic caulk.
5. Final Check Before Siding Closes It In
Every opening gets inspected before the siding crew covers it up — this is the last point where a flashing mistake is easy to fix.
Installation Quality Checklist
Whether you're watching your own build or comparing bids, these are the things worth confirming before your windows get closed in behind siding.
- Rough openings are square, level, and flashed with a sill pan before the window is set
- Flashing follows a shingle-lap sequence — sill, then sides, then head, each overlapping correctly
- Fasteners and hardware are corrosion-resistant, especially on water-facing elevations
- Sealant is backed with proper backer rod, not just a bead over an open gap
- Glass package (U-factor, SHGC) matches the orientation of that specific wall, not a blanket spec for the whole house
- Windows are shimmed plumb, level, and square — not just fastened where they landed
- Installation is inspected and signed off before siding covers the flashing
Why a Crew That Already Works Cherry Point Makes a Difference
Installation methods that work fine in a sheltered inland neighborhood aren't automatically enough for a shoreline-exposed lot near Blaine. A crew that's already worked this area knows which elevations take the worst of the wind-driven rain, where moss and prolonged dampness cause problems, and which hardware and sealant products actually hold up against salt air over years, not just through the first winter. That's experience you can't get from a spec sheet — it comes from having done the work here before and having gone back to see how it held up.
We also know the practical side of building in Whatcom County: coordinating around weather windows, working alongside your builder's schedule, and understanding what inspectors here expect to see at a rough-in check.
Timing Your Window Install With the Rest of the Build
New-construction window installation is a scheduling-sensitive trade — it has to happen after the wall is ready and before siding closes it up, and it goes faster and cleaner in a dry weather window. We work with your general contractor to lock in that slot early rather than scrambling to fit it in once framing is already ahead of schedule. If you're still finalizing plans, it's worth looping us in before rough openings are even framed — a quick review at that stage can save a change order later.
If you're building new in Cherry Point and want windows installed by a crew that already knows this shoreline, we're happy to walk your plans and give you a straightforward, no-pressure estimate — just fill out the form below.