 Blaine Siding
 Storm Damage Roof Repair for California Creek Homes
California Creek sits close enough to the water and open farmland north of Blaine that its roofs take a different kind of beating than roofs a few miles inland. Homes out here get the full combination: salt-laden air blowing off Semiahmoo Bay and the Strait of Georgia, wind that funnels across open fields with nothing to slow it down, and long stretches of wet, gray weather that keep roofs damp for months at a time. When a winter storm rolls through, the damage it leaves behind is rarely as obvious as a hole in the roof. It's a lifted shingle tab here, a cracked pipe boot there, a strip of flashing that's pulled a quarter-inch away from the chimney. Small stuff that turns into a real problem by the time anyone notices water on the ceiling.
We work on roofs in this part of Whatcom County regularly, and storm damage repair on a California Creek home is a specific job — not a generic patch-and-go. This page covers what local homes actually need, what a correct repair involves, and how we handle the work from first call to final cleanup.
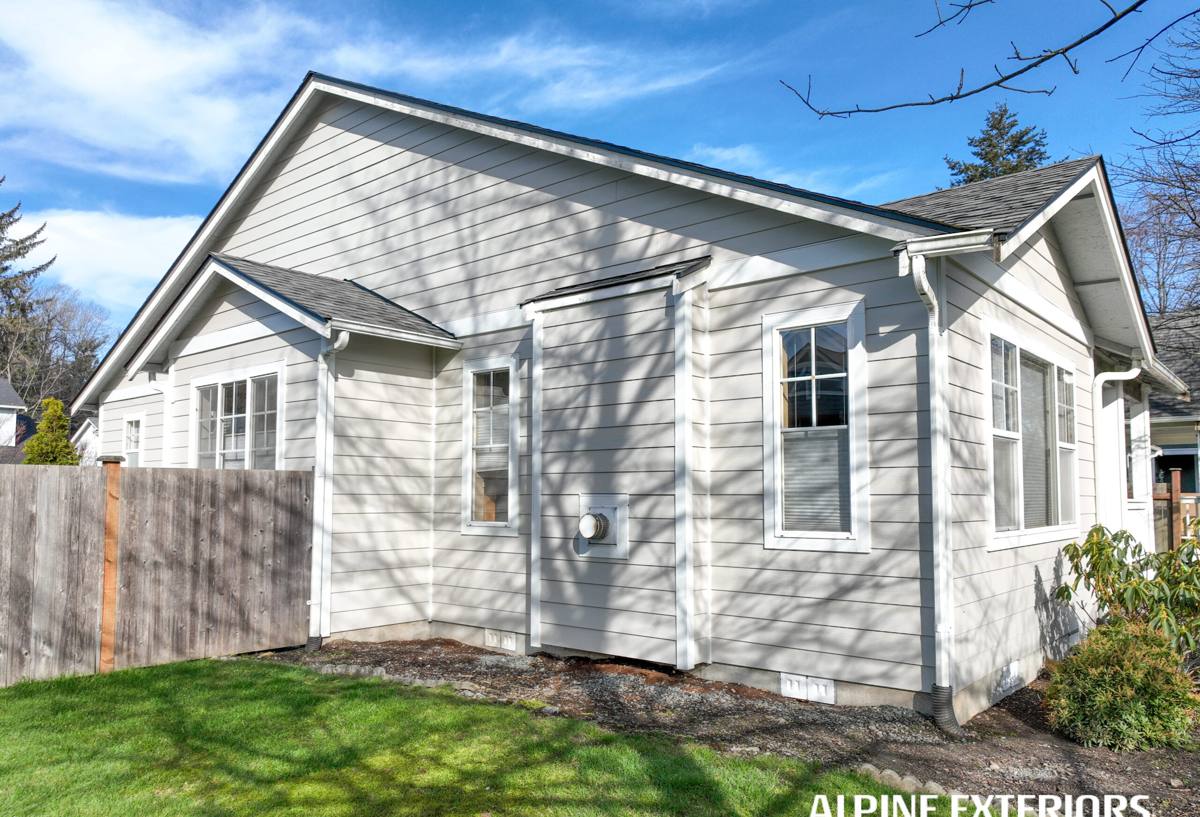
Why Storms Hit Different Out Here
Three things stack up against roofs in California Creek and the surrounding rural stretch of Blaine, and they don't act alone — they compound each other.
Salt Air
Proximity to the water means metal fasteners, flashing, and drip edge corrode faster here than on a roof ten or fifteen miles inland. Corrosion doesn't announce itself — a nail head rusts down under a shingle tab and you don't see it until the tab lets go in a windstorm.
Wind Off Open Ground
Without tree cover or windbreaks in a lot of the California Creek area, storm-force gusts hit rooflines directly. That's what causes the classic storm damage pattern: shingles peeled back along a ridge or edge, sometimes in a clean line where the wind found a weak seam in the original installation.
A Long Moss Season
Western Washington's wet season runs long, and north Whatcom County is no exception. Moss and algae get a foothold on north-facing slopes and shaded valleys of the roof, and they hold moisture against the shingle surface for weeks after a storm has passed. That moisture is what turns a minor storm crack into a rotted deck board if it's not caught and dried out.
None of these three problems is dramatic on its own. Together, over a few storm seasons, they're why roofs in this area age faster than the manufacturer's warranty numbers suggest they should.
Signs of Storm Damage Homeowners Often Miss
Most storm damage calls we get start with something visible — a shingle in the yard, a stain on a ceiling. But by the time you can see it from the ground or from inside the house, the damage has usually been sitting for a while. Here's what actually indicates storm damage on a roof in this climate:
- Granules collecting in gutters or at downspout outlets after a windy, rainy stretch
- Shingle tabs that look slightly lifted or "fluttery" at the edges, especially along the roof's leading edge
- Soft or spongy feel underfoot near valleys or penetrations (a sign moisture has already reached the decking)
- Rust streaks below flashing, vents, or metal fasteners
- New or expanding moss patches that appeared right after a storm rather than gradually
- Daylight visible through the attic roof deck, or damp insulation directly under a specific spot on the roof
- Nail pops — small raised bumps under the shingle surface where a fastener has backed out
If you notice any of these after a storm, it's worth a look before the next round of rain gets underneath the roof covering rather than staying on top of it.
What a Correct Storm Damage Repair Actually Involves
A lot of storm repair work gets done wrong not because the crew is careless, but because it's rushed. Storm damage repair done right has a specific order of operations, and skipping steps is how a $400 repair becomes a $4,000 one two years later.
1. Stop Active Water Intrusion First
If a roof is actively leaking, the first job is a proper tarp or temporary seal — not a patch job that looks finished but isn't tied into the roof's actual water path. A tarp needs to be anchored so wind can't get under it and tear it loose in the next storm, which is a common problem with rushed DIY tarping.
2. Inspect Beyond the Obvious Damage Point
Wind damage rarely stays contained to one spot. If three shingles blew off, we check the surrounding field, the ridge, the valleys, and the flashing details — because the same gust that took those three shingles likely stressed the fasteners on a dozen more that haven't let go yet.
3. Check the Decking, Not Just the Shingles
This is the step that gets skipped most often. If water got under the roof covering, the plywood or OSB decking underneath may already be soft or delaminating. Replacing shingles over compromised decking just hides the problem until it fails from below.
4. Match Materials, Not Just Color
A patch that doesn't match the existing shingle's profile, weight, or granule pattern will shed water differently than the surrounding roof and often becomes the next leak point. When exact matches aren't available — which happens with older roofs — we explain the trade-off honestly rather than installing something that looks close but behaves differently in wind and rain.
5. Reseal and Reflash Properly
Flashing around chimneys, vents, and valleys is where storm damage repairs most often go wrong. Caulk-only fixes fail within a season or two out here because of the salt air and constant moisture cycling. A proper repair re-beds or replaces the flashing itself.
Our Process, Start to Finish
- Initial call and photos. If you can safely get a phone photo of visible damage, it speeds up the first assessment.
- On-site inspection. We walk the roof (weather permitting) and check the attic from inside where accessible, looking for moisture, not just surface damage.
- Written scope and estimate. You get a clear description of what's damaged, what needs to be repaired, and what it costs before any work starts — no surprise add-ons partway through.
- Temporary protection if needed. If the roof is actively leaking and full repair can't happen immediately, we secure it properly first.
- Repair work. Decking, underlayment, flashing, and shingle work performed in that order, matching materials as closely as available options allow.
- Cleanup and walkthrough. Yard and gutters cleared of debris and old material, and we walk you through what was done.
Repair or Replace? Honest Cost Factors
Not every storm-damaged roof needs a full replacement, and not every roof can be reasonably patched. The right call depends on a handful of factors, not just the size of the visible damage.
| Factor | Favors Repair | Favors Replacement |
|---|---|---|
| Roof age | Under 10–12 years, otherwise sound | Nearing or past expected shingle lifespan |
| Extent of damage | Isolated to one section or slope | Spread across multiple slopes or the whole roof |
| Decking condition | Dry, solid underneath | Soft, delaminated, or repeatedly wet |
| Material availability | Matching shingles still obtainable | Discontinued or badly weathered mismatch |
| Storm frequency | First significant hit in years | Repeated storm damage on the same roof |
We'll tell you straight which side of that table your roof falls on. A roof that's been repaired well twice already and is showing a third round of damage is usually money better spent moving toward replacement than continuing to chase patches.
Insurance Claims: What to Know Before You Call
Most homeowners' policies cover sudden storm damage — wind, falling debris, impact — but they typically don't cover damage from gradual wear, neglected maintenance, or moss that's been left to grow unchecked for years. That distinction matters, because an adjuster's job is to sort out which category your damage falls into.
Where we can help: documenting the damage clearly with photos and a written scope before repairs begin gives you something concrete to bring to a claim, rather than a verbal description after the fact. We're not your insurance company and don't promise claim outcomes, but a clear, honest damage report tends to make the claims process go smoother than trying to explain storm damage to an adjuster without documentation.
Preventing the Next Round of Storm Damage
Once a storm-damaged roof is repaired, a few maintenance habits go a long way toward keeping California Creek's climate from doing the same damage again next season.
- Clear moss off north-facing and shaded slopes before it gets thick enough to hold moisture against the shingles
- Keep gutters and downspouts clear so storm runoff doesn't back up under the roof edge
- Have flashing and fastener condition checked every couple of years, since salt-air corrosion is gradual and easy to miss from the ground
- Trim back any overhanging branches that can whip against the roof surface in high wind
- After any significant windstorm, do a quick visual check from the ground for lifted or missing shingles rather than waiting for a leak to show up inside
Why Local Storm Repair Experience Matters
A crew that only sees a handful of storm-damaged roofs a year in this specific area doesn't develop a feel for how California Creek's combination of salt air, open-field wind, and long moss season actually plays out on a roof over time. We've seen how quickly a small flashing gap turns into a bigger problem here, and we know which repair shortcuts hold up in this climate and which ones don't. That's the difference between a repair that lasts through the next few storm seasons and one that's back on our schedule in eighteen months.
We also know that storm damage repair often isn't a planned expense. We try to keep the process straightforward: an honest look at what's actually wrong, a clear estimate, and repair work that addresses the cause, not just the visible symptom.
Get a Free, No-Pressure Estimate
If your California Creek home took storm damage recently — or you're just not sure whether last winter's weather left something behind — we're happy to take a look. There's no obligation and no pressure to move forward with anything beyond an honest assessment. Fill out the form below to get started.