 Blaine Siding
 Siding Built for Custer's Weather, Not Just Installed on It
Custer sits in coastal Whatcom County, close enough to the water that salt-laden air, wind-driven rain, and long stretches of gray, damp weather are just part of the deal. Add in the moss and algae season that runs most of the fall through spring here, and siding on a Custer home works harder than siding almost anywhere inland. The material, the fasteners, the flashing details, and the finish all have to hold up to repeated wetting and drying cycles, not just look good on installation day.
A lot of siding failure isn't really a product problem — it's an installation problem that the local climate eventually exposes. Gaps that would go unnoticed in a dry climate become entry points for wind-driven rain in Custer. Caulk joints that would last a decade elsewhere break down faster under constant moisture and UV cycling. That's the lens we bring to every siding installation job in this area: the product matters, but the details of how it's put on the wall matter just as much.
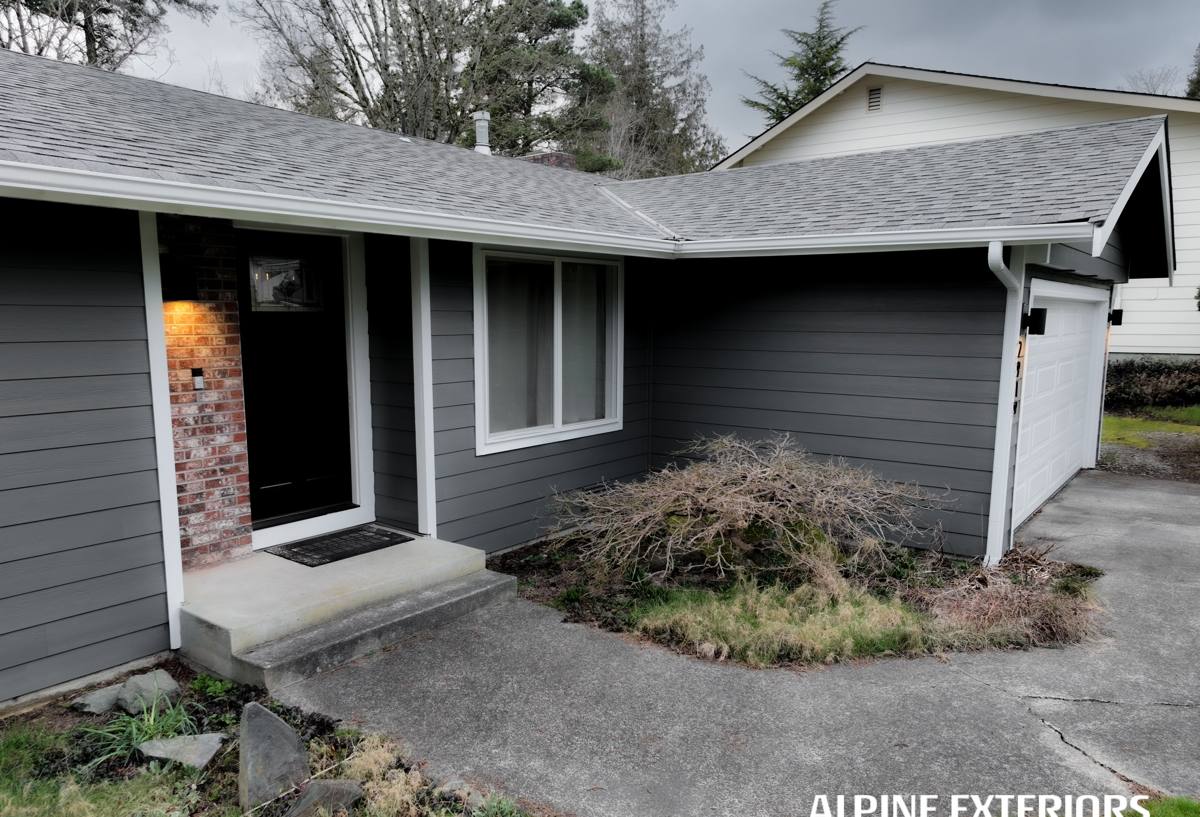
What "Correct" Siding Installation Actually Involves
Siding installation isn't just nailing boards to a wall in a straight line. Done correctly, it's a layered system, and every layer has a job:
- Weather-resistant barrier: A continuous, properly lapped house wrap or building paper behind the siding, so any water that gets past the siding still drains down and out instead of soaking into the sheathing.
- Flashing: Metal or self-adhered flashing at windows, doors, roof-to-wall intersections, and anywhere horizontal surfaces meet vertical ones — the places water actually concentrates.
- Proper clearances: Siding held up off decks, patios, and grade, with a gap at the bottom so it can dry out instead of wicking moisture from the ground.
- Correct fastening: Nails placed and driven per the manufacturer's specification — too tight or too loose, and the board can't perform as designed, especially through Custer's freeze-thaw swings and seasonal humidity shifts.
- Sealed and finished joints: Caulking at butt joints and penetrations done with the right product, in the right conditions, so it actually bonds instead of failing within a couple of years.
Skip or rush any one of these steps and the siding may look fine for a season or two before problems start showing up — usually as staining, soft trim, or paint failure around the joints first.
Why We Only Install James Hardie Fiber Cement
We don't install vinyl, LP SmartSide, Cemplank, Allura, or unfinished wood siding, and that's a deliberate standard, not an oversight. Each of those products has real strengths, but each also comes with a trade-off — moisture sensitivity, maintenance burden, or performance limits — that we're not willing to build into a home in a climate this wet and this close to salt air.
James Hardie fiber cement is non-combustible, dimensionally stable, and manufactured in HZ product lines specifically engineered for climate zones like the Pacific Northwest. The factory-applied ColorPlus finish is baked on under controlled conditions, which gives it far better resistance to fading and moisture intrusion than field-applied paint, and it carries a strong transferable warranty. When it's installed correctly, it's a system built to handle exactly the conditions Custer gets — rain, humidity, and salt air — for decades, not just a few years.
Our Installation Process for Custer Homes
1. Inspection and Prep
We start by pulling the existing siding (or assessing bare sheathing on new construction) to check what's underneath. In this area, that often means looking closely for moisture staining, soft sheathing, or signs of past leaks around windows and trim — problems that need to be fixed before new siding goes on, not covered up by it.
2. Weather Barrier and Flashing
We install or repair the weather-resistant barrier and flash every penetration and transition point. This step is the one that determines whether the wall assembly actually sheds water for the next 30-plus years, and it's the step that gets rushed most often by crews trying to move fast.
3. Siding Installation
Hardie boards, panels, or shingles go up per manufacturer spec — correct fastener spacing, correct nail depth, correct clearances at grade, decks, and roof lines. We plan joint layout to minimize butt joints on visible elevations and keep seams away from areas that collect the most water.
4. Finish Work
Trim, caulking at joints and penetrations, and touch-up on any factory-finished edges that were cut on site. Because ColorPlus finish is factory-applied, we minimize field painting and use it only where necessary — a cut edge, for example — to keep the finish as close to factory performance as possible.
5. Cleanup and Walkthrough
Site cleanup, debris haul-off, and a walkthrough so you can see the finished work and ask questions before we consider the job done.
Problems We Commonly Find on Custer Siding Replacements
Because we work in this area regularly, certain issues show up often enough that we plan for them before we start:
- Moss and algae staining on north- and shade-facing walls, which is more of a maintenance issue than a structural one, but it's usually the first visible sign that the current siding's finish is breaking down.
- Soft or rotted trim around windows and at the bottom of wall sections, especially where caulk joints failed years ago and were never resealed.
- Sheathing damage hidden behind old siding where flashing was missing or installed incorrectly the first time — this is the kind of thing you often can't see until the old siding comes off.
- Paint failure on field-painted wood or fiber cement, usually concentrated on the sides of the house that take the most wind-driven rain.
None of these are unusual for homes in this climate — they're just the predictable result of years of exposure, and they're exactly what a correct re-install is meant to fix.
Choosing the Right Hardie Product for a Custer Home
James Hardie makes several product lines and profiles, and the right choice depends on your home's style, exposure, and budget. Here's how the main options generally compare:
| Product | Best For | Notes |
|---|---|---|
| HardiePlank Lap Siding | Most standard residential walls | Widest range of profiles and ColorPlus colors; the most common choice |
| HardieShingle | Accent areas, gables, cottage-style homes | Staggered or straight-edge shingle look without cedar's maintenance needs |
| HardiePanel | Modern/contemporary designs, garages, accent walls | Large-format vertical panels, often paired with board-and-batten trim |
| HardieTrim | Window, door, and corner trim | Pairs with any of the above for a consistent, matched system |
All of these are available in HZ5 formulations engineered for climates with significant moisture exposure, which is the right specification for Custer and the surrounding Whatcom County coastline.
What Siding Installation Typically Costs
Every home is different, but the main cost drivers on a siding installation project are fairly consistent. We'll always give you an exact number after a walkthrough, but here's what generally moves the price:
| Factor | Why It Matters |
|---|---|
| Home size and wall area | More square footage means more material and labor hours |
| Removal and disposal | Tearing off old siding (and hauling it away) adds time versus new construction |
| Sheathing repair | Any rot or moisture damage found underneath needs to be fixed before new siding goes on |
| Trim complexity | Multiple gables, dormers, and window/door openings add cutting and fitting time |
| Product line and profile | Plank vs. shingle vs. panel, and standard vs. premium colors, affect material cost |
| Site access | Difficult access, multiple stories, or tight lot lines can affect labor and equipment needs |
We'd rather walk your home and give you a number based on what's actually there than quote a rough range that doesn't hold up once we see the site.
After Installation: Keeping Your Siding Performing
One advantage of a correctly installed Hardie system is how little upkeep it needs compared to painted wood — but "little" isn't "none," especially in Custer's climate. A simple annual routine goes a long way:
- Rinse the exterior with a garden hose (not a high-pressure washer aimed directly at joints) to knock off pollen, salt residue, and early moss growth.
- Walk the perimeter once a year and look at caulk joints around windows, doors, and trim for cracking or separation.
- Keep gutters clear so overflow isn't running directly down wall sections.
- Trim back vegetation and shrubs so walls get airflow and sunlight, which slows moss and algae growth.
- Watch shaded, north-facing walls more closely — they hold moisture longest and are where staining shows up first.
Why Local Experience in Custer Matters
Siding installation done to spec looks basically the same anywhere — the difference in a place like Custer shows up years later, in the details that were or weren't done correctly for this specific climate. A crew that already works in this part of Whatcom County knows which elevations of a house take the worst weather, how much clearance to leave given the rainfall here, and what to check for when old siding comes off a home that's been dealing with salt air and moss for a decade or more. That's not something you get from a general-purpose installer working from a manual — it's something you get from doing this specific job, in this specific climate, over and over.
If you're weighing a siding project on a Custer home, we're happy to take a look and give you a straightforward, no-pressure estimate — no obligation, just an honest read on what your home needs. Use the form below to get started.